
Whenever my 5th graders test out new instruments, they always seem intimidated by the flute.
I’m not sure why, but I suspect it’s something to do with the fact that it’s held sideways; it seems confusing.
After I explain it, the nerves seem to go away, so let’s talk about how to hold a flute.
To hold the flute the correct way, you need to follow these steps:
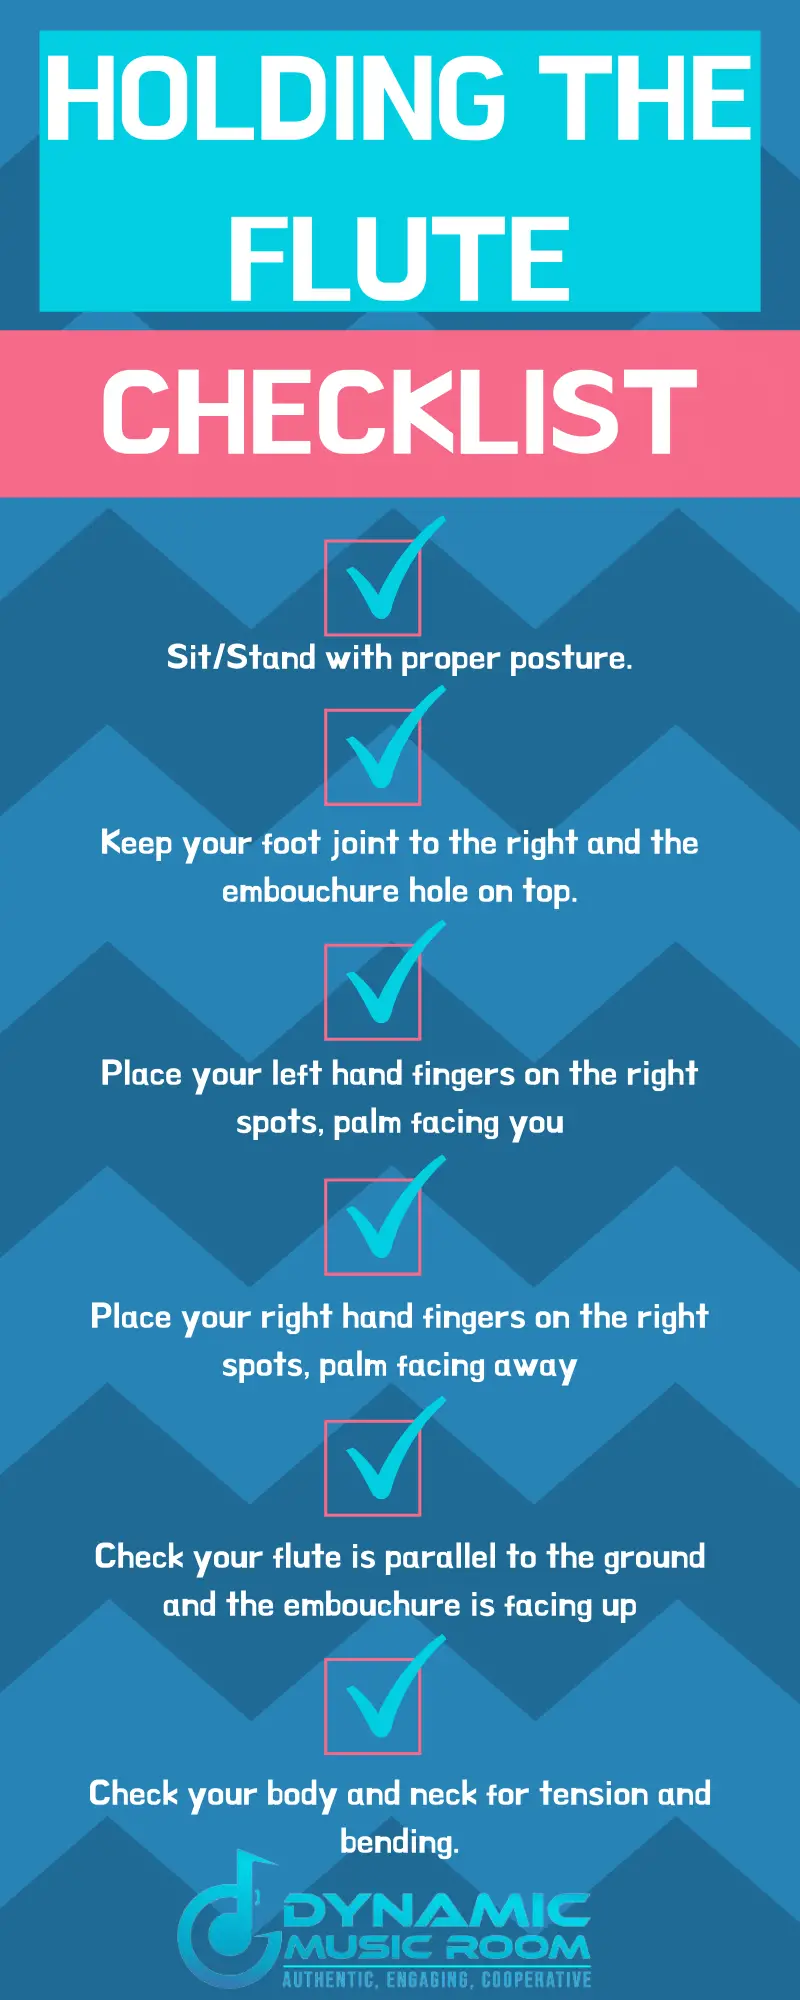
- Check Your Body Posture
- Position The Flute The Correct Way
- Make A C-Shape With Your Left Hand
- Place Your Left-Hand Fingers On The Keys
- Place Your Right Thumb On The Flute
- Position Your Right-Hand Fingers Over The Keys
- Check Your Flute Angle
- Check Your Flute Tilt Front To Back
- Double-Check Posture And Tension
Let’s read ahead for more details!
Table of Contents
#1 Check Your Body Posture
The first thing any instrument player needs to do is check their posture.
I see this all the time with my students, young and old when they hold their instruments.
Friends, humans came first, and musical instruments came after us. They were designed for us to hold them, not the other way around.
Don’t collapse or bend your body to meet where you think the flute is.
Start from a place of tension-free balance.
With new players and experienced ones, I recommend going through a quick checklist every time you play for proper posture.
If sitting:
- Keep the center of your hips in line with your core
- Back off the back of your chair, but not arched
- Raise your shoulders to your ear and then drop them to find a relaxed place
- Tilt your head on your neck axis forward and back until you find the place of balance (usually slightly above parallel with the ground
- Take one hand and pull an invisible string out of the crown of your head to lengthen and align your spine
- Release the invisible string and imagine each part of your body correctly stacked on one another
- Do a mental checklist of each part of your body for tension while taking a deep breath in and out to release any tension
If standing:
Do all the same things as above but add knees and ankles balanced under the core.
Tension in the body limits your ability to take a full breath and causes long-term pain down the line.
If you’re an adult, you’ll feel this pain quite a bit from poor posture.
It’s sad, but even my younger students will express discomfort and severe pain from too much playing with poor posture.
#2 Position The Flute The Correct Way
Let’s start from the beginning with the flute itself.
I can’t tell you how many times I’ve seen new students hold the flute with the completely wrong orientation.
First, look at the parts of the flute.
The head joint is where the small circular embouchure hole is.
The middle joint or flute body joint is where most of the keys are.
A flute’s foot joint is the end with a couple of keys and an open hole toward the bottom.
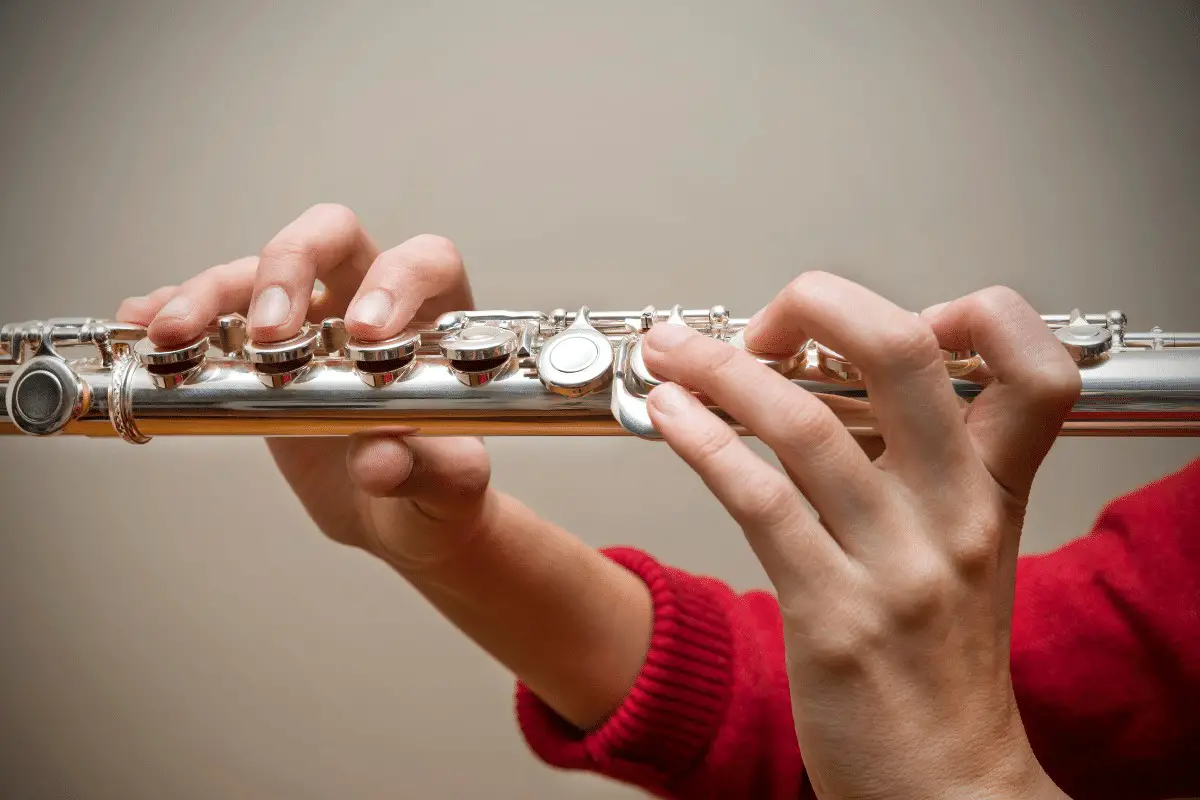
When the flute is put together, you need to make sure the open hole at the foot joint is to the right, and the embouchure hole is facing straight up.
This may seem obvious, but you’d be surprised how many people make this mistake without realizing it.
#3 Make A C-Shape With Your Left Hand
Make a fist, close it tight, and then release your hand naturally.
Reach to grab a glass with your left hand.
Let your left hand relax by your side.
Chances are pretty high that your hand formed some sort of C-shape.
This is the natural resting position for our hands and fingers.
When playing the soprano flute, keep your left hand in this C-shape as we go to put our fingers on the keys.
#4 Place Your Left-Hand Fingers On The Keys
It’s time to put our left-hand fingers on.
Yes, even if you’re right-hand dominant, the flute needs the left hand to go first.
With the C-shape, place your left-hand thumb on the thumb key on the bottom of the flute closest to the head joint or mouthpiece.
(Remember to keep the embouchure hole on the top.)
Now bring your finger around the top of the flute, so the fingers are on the side of the musical instrument away from you.
Keep the open shape; don’t collapse your fingers.
Match your fingers to these keys:
- Index finger – 2nd key
- Middle finger – 4th key
- Ring finger – 5th key
- Pinky finger/Little finger – Side key
Note: Your fingers don’t hold the weight of the flute. The instrument rests on the bottom-most joint of your index finger between your index and thumb.
#5 Place Your Right Thumb On The Flute
Similar to the left hand, we want our right hand to also make a comfortable, open C shape.
Now, we first need to place our right-hand thumb.
There is no key for this finger, unlike the left thumb, but some flutes may have a pad for it to land on.
The thumb supports the weight of the flute on the right side.
If there isn’t any pad to place your thumb on, align the thumb, so it goes on the underside of the flute between your index and middle fingers (they go on the other side).
Unlike the left hand, which had your palm facing toward you, the right-hand palm should face out.
#6 Position Your Right-Hand Fingers Over The Keys
Now let’s put our right-hand fingers on.
Keep the loose and tension-free C shape going all the time.
Near the foot joint end of the flute, you’ll see three keys.
These are the last three keys on the body joint.
Your index, middle, and ring fingers go there on each key, respectively.
The pinky floats between the keys on the foot joint.
Let it rest on top of the first key of the foot joint.
This should be your home position.
#7 Check Your Flute Angle
With your hands in position, bring the flute up to your face.
Position the lip plate just under your bottom lip with the embouchure hole pointing up into the air.
Remember to play this woodwind instrument; you blow air across the hole, not into it.
Learn more in our how to blow the flute guide.
With the flute up to your lips, check the angle of the flute.
Keep the flute parallel to the ground or at a 90-degree angle from your face.
Yes, it may feel heavy and start to droop from time to time.
This is common, but you really need to keep the flute up at horizontal.
#8 Check Your Flute Tilt Front To Back
Double-check your flute is at the right up and down tilt too.
The flute should twist to you, not your head rotate to it.
In general, an excellent place to start is having the embouchure hole face straight up into the air.
For some, they may want to tilt it slightly toward the player’s mouth.
As you play, you’ll find a specific position works best for your mouth.
Make a note of this, and you’ll begin to automatically go to this place.
#9 Double-Check Posture And Tension
Now that everything is pretty much set, you need to check your overall proper posture and tension from step 1.
Go through the same steps as before and make sure your head is balanced and level.
Too often, as flutists get tired, they adjust for the weight of the flute by using their shoulders and head to fix the angle.
This gives their heads tilt and shoulders extra strain.
In the long run (and the short-term in many cases), this will cause some severe pain.
Even after playing for a while, double-check the posture and positioning.
Congrats! You now know how to hold a flute!
Video Instructions On How To Hold A Flute
Check out this video on how to hold a flute if you prefer to follow it visually as well.
FAQ
Why is the flute so hard to play?
The hardest part about playing the flute is making the sound.
It takes a bit of learning before you get the angle on your air stream hitting the back of the lip plate just right.
A trick that always helped me (and my students) is to make a slight pouty lip with your lower lip.
Start with the embouchure hole facing into the outer part of the lower lip and then blow.
Of course, there will be no sound. As you blow, roll the flute out until the air hits across the embouchure hole just right.
When the sound happens, remember this spot. Do this trick as often as you need until you put the flute up at the exact right angle every time.
Is playing flute good for the lungs?
Playing the flute and any other wind instrument is excellent for your lungs.
The breathing process is a muscular one as the diaphragm is the primary muscle used in drawing air into your lungs.
By using this muscle, you develop strength and awareness of how breathing works.
In this manner, you take deeper breaths and breath more efficiently in general.
Of the wind instruments, the tuba and the flute require the most air; the flute because it has no backpressure to help control the air, and the tube because it has the largest and longest tubes.
One of my professors at my undergrad was a musician with asthma.
One of his early doctors told him he could never play a wind instrument because of this condition.
Fortunately, he went ahead with learning it, and it helped keep his asthma in check as he strengthened his lungs.
Is violin harder than a flute?
In most ways, the violin is more complex than the flute.
It requires better ear and finger coordination early on than the flute, and the violin has a more significant learning curve before the tone starts to have good sound quality.
While at the professional level, both instruments play challenging music and require a lot of work, the flute is easier overall at the early stages.
The flute is a medium-difficulty instrument, while the violin is a hard one.
Is piccolo harder than a flute?
The piccolo functions much the same as the flute in terms of fingerings and how it’s played.
Check out the types of flute guide for a complete comparison.
However, based on my experience, that of my students, and asking professional flutists, the piccolo is overall more difficult because of the higher pitch and greater challenge of producing good tone quality.
The piccolo has a range an octave above that of the flute.
Check out the range of the flutes.
Why is open hole flute better?
There are two primary varieties of transverse flutes: the open key or open hole and the closed key.
Most people don’t even know an open hole is an option.
Beginner, intermediate, and even many advanced flutes are all closed key.
This means the main keys where you press your index, middle, and ring fingers are covered by a full key.
When you press the key, the tone hole is blocked entirely.
On open-hole flutes, these keys are actually a ring of metal, open in the middle.
When you press the key, you must also make sure your finger covers the tone hole completely, or the sound won’t come out right.
It’s more difficult for new players and those not used to it.
However, the open holes generally have a better tone and allow the professional flute player more control over their pitch and access to more techniques, including quarter tones and higher notes.
Learn about the highest note on the flute.