

Are you struggling to teach the upper octave notes on the soprano recorder?
Do you want to better help your students master these tricky notes?
Most of the recorder notes are fairly easy to understand. Just put your fingers here and blow softly.
I’ve seen every time notes above high D, students (adults and young alike) hit a wall. But knowing how to play high E on the recorder transfers skills to a whole host of other notes, so I researched some ways to teach it better.
Playing high E on recorder isn’t as tricky as it seems if you focus on learning the half-hole technique, do specific practice exercises, and put the note in the correct place in a learning sequence. You play high E by fingering a low E and half-holing the thumb.
Look ahead for more details on this information.
Table of Contents
Half-Hole Technique
Before learning to play high E specifically, it’s important to learn about the half-hole technique. This technique is used to play any soprano recorder notes above high D (D on the fourth line from the bottom in treble clef).
This technique also applies to the other types of recorder as well. With sopranino, alto, and bass recorders, the half-hole technique works on notes above their high G (fingered the same as soprano high D).
The tenor recorder uses the exact same fingers as the soprano recorder.
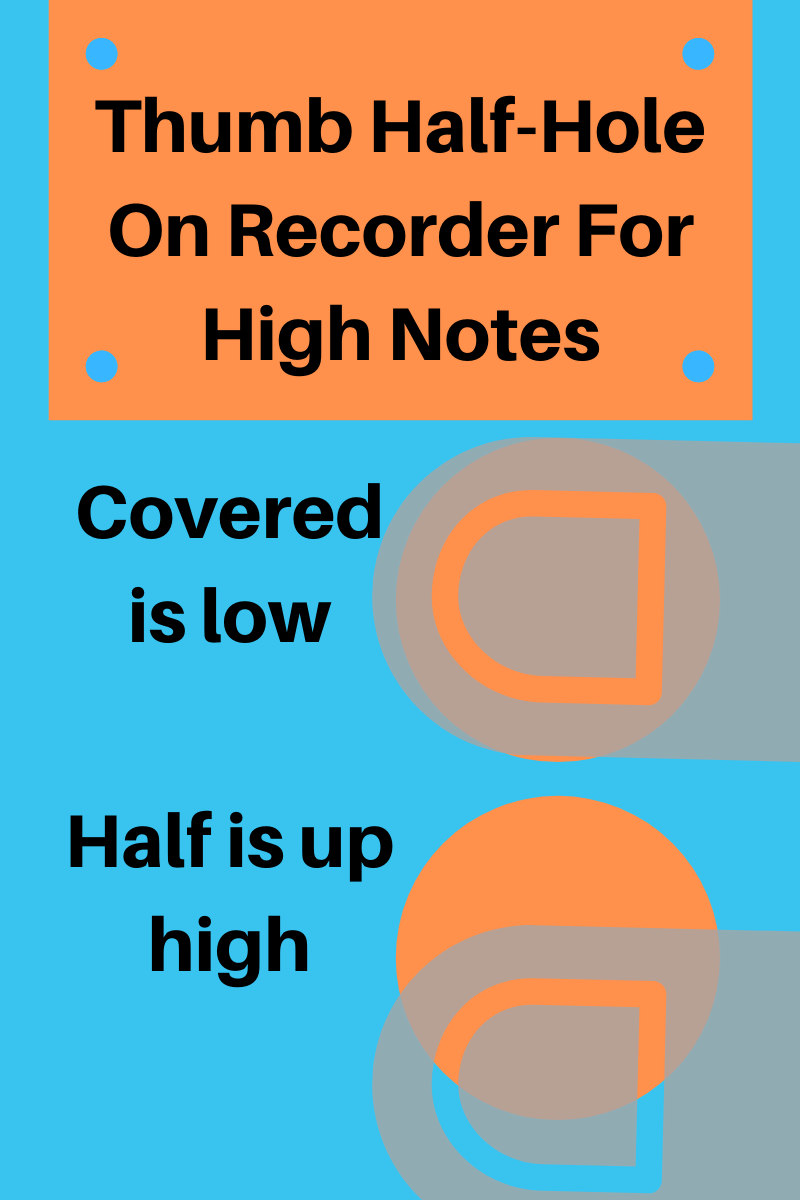
The half-hole technique focuses on the thumb.
In normal playing as you and your students have likely done, the thumbhole should be completely covered except for the note high D which should be uncovered completely.
For high E and notes above this pitch, the thumbhole should be only half covered.
This is done by either tilting the thumb downward so the upper half of the hole is uncovered or by sliding the thumb down a little.
In terms of higher level play, the tilting is more effective as it requires less motion from the thumb when jumping over the break.
This half-hole technique, when coupled with more focused air, will make any note except B, high C, and high D, jump up to the octave higher pitch.
How Does This Work?
There is a complicated sound science behind how this works. But it essentially boils down to the following:
- Covering the hole only halfway speeds up the focus of the air.
- This changes the directions of the air and increases the speed of the vibration.
- The pitch is forced to jump up to the next overtone of the container being played.
- On recorder, the next overtone is an octave higher than the original.
This is similar to how other woodwinds such as the flute and saxophone work.
If this seems too complex, don’t worry about it; you don’t need to know this to play the notes.
How Do You Play High E On The Soprano Recorder?
With the half-hole technique in mind, it’s time to learn about how to play high E on a recorder. Follow this breakdown of steps.
If teaching this to students, every step should include an echoing section with you playing first. This way, students know how the note is supposed to sound.
#1 Finger A Normal E
First, students need to know and play a “normal” or low E.
I always describe the notes starting with the thumb and left hand. Here is the language I use to finger low E:
- Left hand thumb on the back
- Left fingers 1, 2, 3
- No left hand pinky ever
- Right hand 1, 2
- Make sure your right thumb is under the recorder helping to balance between their 4th and 5th holes
Instead of saying “1, 2, 3” you may want to say “pointer, middle, ring fingers.” I use both interchangeably.
Check the fingerings of your students and/or have them check each other.
#2 Play A Normal E
Using soft, warm air, play 3-5 low E patterns to make sure all the holes are completely covered.
If teaching students, circulate while you echo patterns to get a better feel for how the class is doing.
You may also want to quickly split the class into smaller groups for echoing to make it even easier to hear each individual student.
#3 Half-Hole The Thumbhole
Now introduce the idea of half-hole. Practice looking directly at the thumbhole and adjusting your thumb to get a better look for what it feels like.
All top of the recorder fingerings stay the same.
#4 Tighten Your Lips And Air Stream
This is the part most players will do wrong.
They’ll make one of two mistakes:
- Continue to play with soft, warm air (the note won’t jump)
- Blow hard (the note sounds terrible and squeaky)
You need to tighten your lips around the recorder mouthpiece a little and focus the air. Instead of thinking of harder air, imagine a cooler air stream.
#5 Play A High E
With the correct fingering, half-hole, and focused air, play high E on recorder.
Congrats on playing this tricky note!
Check out the learning exercises below.

High E Exercises
Jumping right into high E with songs is going to be too much for most players. They need to develop some comfort with the fingers and air before getting there.
This section describes a few of my favorite exercises for starting to master high E.
Low to High
For this exercise, students focus on the smallest change possible which is ironically a whole octave leap.
Practice play 4 low Es and then 4 high Es.
Start with 4 quarter notes each and after a measure switch to 3 each. Then 2, and then 1. Each set should be repeated 4 times before moving on the shorter amount.
This master the thumb move and the air switch.
EDEDEDEDED
After this, it just gets tricky and takes practice.
Focus on the same exercise as before, but now you’re switching from high E to high D. This means students don’t have to think about the air switch quite as much, but they need to all their fingers.
4 Es, 4 Ds, 3 Es, 3 Ds, 2 Es, 2 Ds, 1 E, 1D.
Remember to do each set 4 times.
Walking Down
Slowly practice playing high E-D-C-B-A.
Start slow, then speed up.
After this is mastered, walk your way all the way down: high E-D-C-B-A#-E.
This is a good place to talk about minor scales too!
Stepping Up
Now for the opposite. Start with A-B-C-D-high E.
Once this is mastered slow then fast, go for the whole scale starting on low E.
The Jumping Frog
This is by far the toughest exercise, but it’s also the most applicable for the highest levels of playing.
Essentially, you’re jumping straight from high E to each note and back. This is the order I do this exercise in (all Es are high unless otherwise notated):
- E – D – E
- E – C – E
- E – B – E
- E – A – E
- E – G – E
- E – F# – E
- E – low E – E
Now, do the same exercise, but this time, start with the lower note and make high E the middle.
Example: D – high E – D instead of E – D – E.
Start slow and focus on clean finger and air switching. Then gradually speed up.
When To Teach Students High E On Recorder
Most people may not get to high E on recorder, and this is fine. In years when students struggle a little more, I don’t always get there.
But I do make sure I at least introduce the idea of half-holes for high notes.
Most recorder teaching methods agree on the placement of high E in their sequence even if they disagree on how the sequence starts.
In general, high E should be learned after the following pitches are mastered (though not in this order):
Low C, low D, E, F, F#, G, A, B, high C, and high D.
Books may differ in how they get there, but they do agree the previous needs to be learned first.
Check out my guide to teaching the recorder.
Conclusion
I hope this information on how to play high E on the recorder was helpful for you. All students are a little frustrated at first when they learn this note, but this is just because it’s new.
All new things take some work, but by following the advice above, hopefully, you’ll have a little better of an idea on how to guide your students towards recorder mastery.