
Do you want to make sure your students have the best technique to help them grow?
Are you a new recorder player, but confused on the right way to hold it?
In my decades of playing recorder and over 10 years of teaching it to elementary and adult students, I have grossly underestimated the importance of proper holding technique.
My students didn’t naturally care about holding the recorder correctly, and I didn’t want to keep battling them on it.
However, they would always reach a peak in their ability they struggled to move beyond. I’m ashamed to say it took me a while to realize a big portion of it came down to my students’ poor holding technique.
This is why I made this guide on how to hold a recorder the right way.
To hold the recorder, you need to start with good posture by sitting or standing up with an aligned and relaxed body. The mouthpiece should be up and the window should face straight out. The left hand is on top, and the fingers are slightly curved to cover the holes with the finger pads and perpendicular with the length of the recorder.
If this seems confusing and picky, don’t worry! The rest of the article goes over the steps with detailed explanations.
Table of Contents
What You’ll Need
What do you need to hold a recorder correctly?
In short, a recorder!
Any recorder will do, though some come with a thumb rest which does help. But it isn’t needed.
I always love the Eastar recorder made out of maple wood. It sounds great, is pretty durable, and feels comfortable to hold.

Step-By-Step How To Hold A Recorder
These are my directions for how to hold a recorder the right way.
I’ll also talk about why they should be followed as they are and what happens if you decide to skip a step.
#1 Start With The Recorder With The Head Joint On Top
There are 3 parts to a recorder, the head, body, and foot joints.
The head joint has a rectangular hole where the sound comes out and a thin hole for blowing into.
A body joint has most of the holes including one lonely one on the back for the thumb.
The foot is short and has doubled holes for performing accidentals.
You wouldn’t think I’d have to say it (and I usually don’t), but the head joint should be facing towards your lips.
Bonus tip: The window (rectangle hole) and the first of the holes on the body (the side with more than one hole) should be in line.
#2 Thumbhole Towards The Back/Window On Top
The thumbhole is the lonely hole on the back. This should face directly back towards you.
On the flip side, the other holes, including the window, should face directly out and away from you.
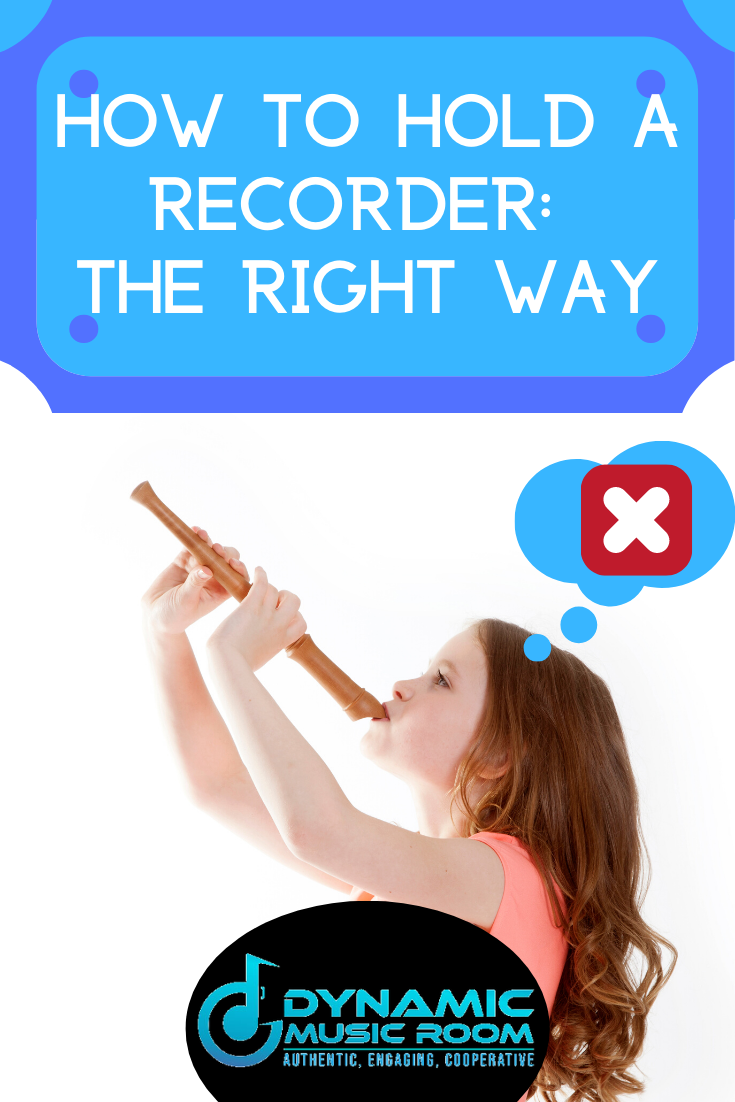
I see students play with the recorder slightly twisted all the time.
It may not stop you at first from playing easy songs on a recorder, but two big problems will happen over time:
- The lower note fingerings will be tough to do as the holes are already off-set a little.
- Your fingers and wrists will get tired and even injured over time.
#3 Set The Recorder Angle
Recorder angle is essential for good playing and avoiding jaw pain.
When you bring the recorder to your lips (more on this next), your body and the recorder should form a 45° angle or gentle slope towards the ground.
If you stick the recorder out too close to level, your jaw will push out. This hurts in a short period of time.
If you bring the recorder in towards you too much, you’ll pull your jaw in or tilt your head down. This limits your air control and is just plain uncomfortable.
#4 Lips Around The Mouthpiece Tip
As students’ lips go around the mouthpiece to play, I see a ton of mistakes.
Your lips should make a circle shape and make a seal around the tip only of the mouthpiece.
Your teeth shouldn’t touch the mouthpiece at all!
Don’t think: the recorder goes in my mouth.
Instead, thing: the mouthpiece touches my lips.
This may seem obvious, but don’t put the whole recorder in your mouth.
Bonus Tip: Your tongue should rest near the back of your top teeth to prepare for tonguing.
#5 Left Hand On Top
This is it. This is the biggest problem of all time.
I’ll be honest; I don’t push this as much as I should.
I do remind my students every time I see it, but they try to get away with sooo much.
The left hand goes on top!
Why?
- Tradition – This is the way recorders have always been played.
- Design – The recorder is designed for left-hand on top.
- Preparation – Many other wind instruments also use the left hand on top. This prepares those.
Of all the reasons, the design is the most important.
On most recorders (good ones, anyway), you’ll notice the holes on the front aren’t all in a straight line.
This is on purpose!
Your fingers are different lengths, and these holes line up with the longer and shorter fingers.
Of course, they only line up if your left hand is on top.
Debate it all you want, but it is the way it is.
#6 Fingers Curved And Perpendicular
Here’s a step I hear almost no one talking about.
When you go to cover the holes, your fingers need to be slightly curved.
The goal is to cover the holes all the way, yes.
But you need to cover them with the center of your finger pads.
For almost every person, this means you’ll need to curve your fingers slightly (not leave them flat).
On top of this, you need to make sure the fingers are perpendicular (forming a perfect T) with the length of the recorder.
Angled fingers are more likely to roll and cover the holes on the side of the finger. This will result in half covered holes which produce weak and/or squeaky sounds.
Finger angle is impacted by your arm position.
Don’t pull your elbow into your body or stick it out like your flying.
Let your arm relax at a natural position with your body.
#7 Good Posture
Finally, you must have good posture.
Good posture will avoid pains in your back, neck, and hips while playing for a long time.
It also lets you breathe more efficiently and without tension.
Imagine your body is attached to the spine with a puppet string. Pull the string up to align and lengthen your body.
Do this whether you’re sitting or standing.
Now you know how to hold a recorder the right way!
For posture, I love doing this exercise (even though it was designed for singers).
Commonly Asked Questions
How do you play the recorder? – After you hold the recorder the right way, playing it isn’t much harder.
Briefly, you need to blow soft, focused air, cover the correct holes completely with your finger pads, and use a crisp, soft “T” sound with your tongue.
Learn more at this dedicated guide on how to play the recorder.
Is the recorder easy to learn? – Yes!
The recorder is one of the easiest wind instruments to pick up and learn. If this is your first instrument experience, you may find it hard at first, but once you’ve got the breath control and finger coordination down, this is a rewarding and simple instrument to learn.
Of course, at the highest levels, it’ll still take a lifetime to master.
How do you hold a tenor recorder? – Holding a tenor recorder uses the same principles as listed above. The main difference is that your fingers need to hover over some keys instead of holes.
This is because some of the holes are beyond the reach of your fingers, so mechanical keys allow you to cover these with pads.
What are the notes on the recorder? – All notes exist on the recorder, but the lowest note depends on the size and type of recorder.
In short, soprano and tenor recorders start on C. Sopranino, alto, and bass recorders start on F.
Learn more about the 5 types of recorders.
Final Thoughts
I hope you found this quick guide on how to hold a recorder helpful.
Proper holding technique isn’t exciting, but it’s absolutely necessary.
It may not seem to affect your playing in the beginning stages of playing, but anything beyond that, and it’ll hamper your ability to play dramatically.
Looking for some recorder books or sheet music to learn from?
I recommend checking out the deals and music at Sheet Music Plus.
It’s often quite affordable and available online as well as in person. They do have a huge recorder sheet music selection as well.
They also have great deals such as this one available by clicking below.